
Claude is one of today’s most popular AI chatbots. Yet, creating a Claude account isn’t always simple. Many users, especially those outside supported regions, face account bans or blocks soon after registering. Fortunately, there’s a solution. By using a ISP(static residential proxy), you can improve your chances of success and keep your Claude account safe.
In this guide, you’ll learn how static residential proxies work, why they are crucial for signing up on Claude, and how to set them up properly. Additionally, we’ll share a practical module using QuarkIP, so you can follow each step with confidence.
Why Claude Accounts Get Banned
First, let’s explore the reasons behind frequent bans:
✅ Geo-restrictions: Claude limits access to users in specific countries. If your IP address comes from an unsupported region, your attempt may be blocked.
✅ Suspicious IP patterns: Free or datacenter proxies are often flagged because of previous abuse or overuse.
✅ Inconsistent IP usage: Changing IPs between sessions or during registration raises security concerns.
✅ Multiple accounts on the same IP: This often leads to bans as well.
As a result, choosing the right proxy setup is essential.
Why ISP (Static Residential) Proxies Are the Best Choice
Static residential proxies offer several benefits.
👉 Authenticity: These IPs come from real residential connections, so your traffic looks natural.
👉 Stability: The IP remains fixed, creating a consistent online identity.
👉 Localized presence: You can select an IP from a supported country, bypassing geo-restrictions effectively.
👉 Better reputation: Residential IPs are less likely to be blacklisted compared to datacenter IPs.
Steps to Register Your Claude Account Using a ISP (Static Residential) Proxy
Follow these steps for a smooth signup experience:
1️⃣ Get a Clean ISP (Static Residential) Proxy
To begin, choose a trusted provider like QuarkIP.io. Make sure the proxy’s IP location matches a region where Claude accepts registrations, such as the US, UK, or Canada.
Furthermore, avoid free or datacenter proxies, as they often lead to bans.
2️⃣ Set Up the Proxy
Next, configure the proxy on your browser or device. Enter the IP, port, username, and password as provided.
Additionally, consider using an anti-detect browser or a fresh browser profile to reduce digital fingerprint leaks.
3️⃣ Register Your Claude Account
Then, visit Claude’s official site and complete the signup form. Fill in your details, such as email and password.
👉 Tip: Complete registration in one go without switching IPs mid-process.
👉 Note: If phone verification is required, use a number from the same region as your proxy.
4️⃣ Stay Consistent
Finally, always log in using the same static IP.
✅ Bookmark the login page.
✅ Avoid accessing your account from random devices or networks.
Practical Module: QuarkIP Setup
1.Log in to the QuarkIP dashboard, select your desired region and plan, and place your order
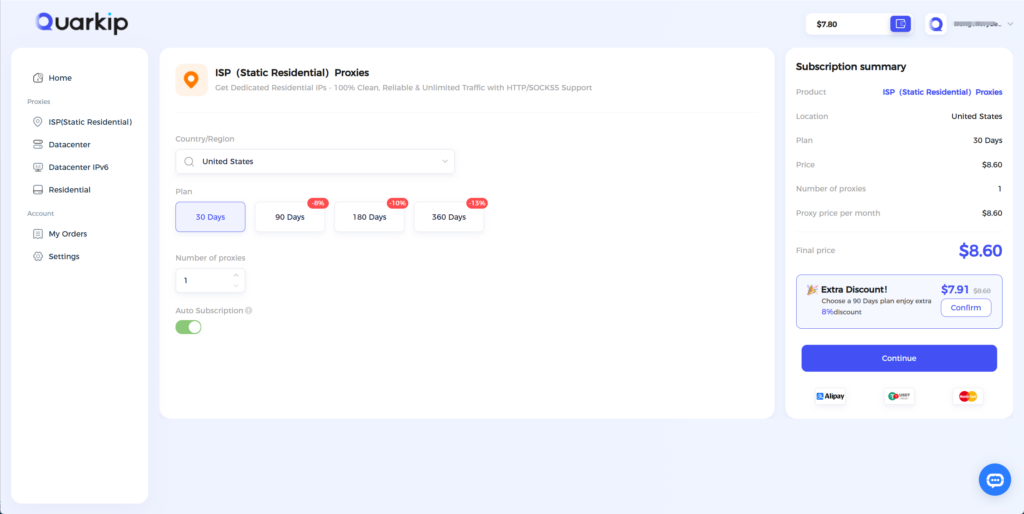
2.Configure the proxy in your fingerprint browser, open the configured window, and visit Claude to sign up.
QuarkIP Proxy Configuration Guide
Mistakes to Avoid
❌ Using flagged or free proxies.
❌ Switching IPs during signup.
❌ Skipping cookie or cache cleaning before starting.
❌ Creating multiple accounts on the same IP.
Extra Tips
👉 Stick with a single static residential IP for this purpose.
👉 Use anti-detect tools when possible.
👉 Regularly check your IP reputation.