Firefox lets you configure a proxy server directly in its settings—no extra tools needed.
To get started, make sure Firefox is installed on your device. If you haven’t installed it yet, click here to download it. Once you’re ready, just follow the steps below.
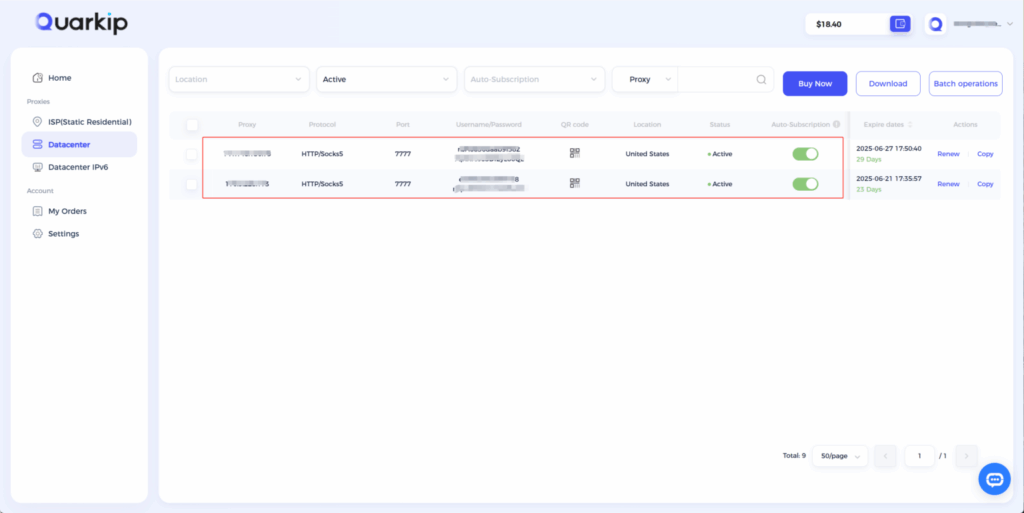
1.Purchase the proxy type you need from QuarkIP
In this guide, we’ll use Datacenter Proxies as an example. Click here to learn how to purchase Datacenter Proxies.
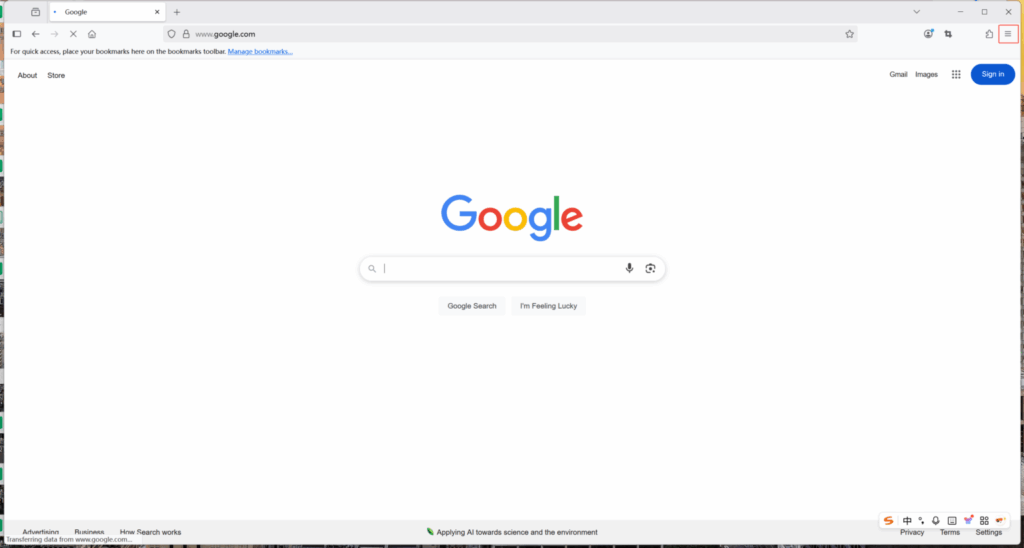
2.Open Firefox and click the settings icon on the top right
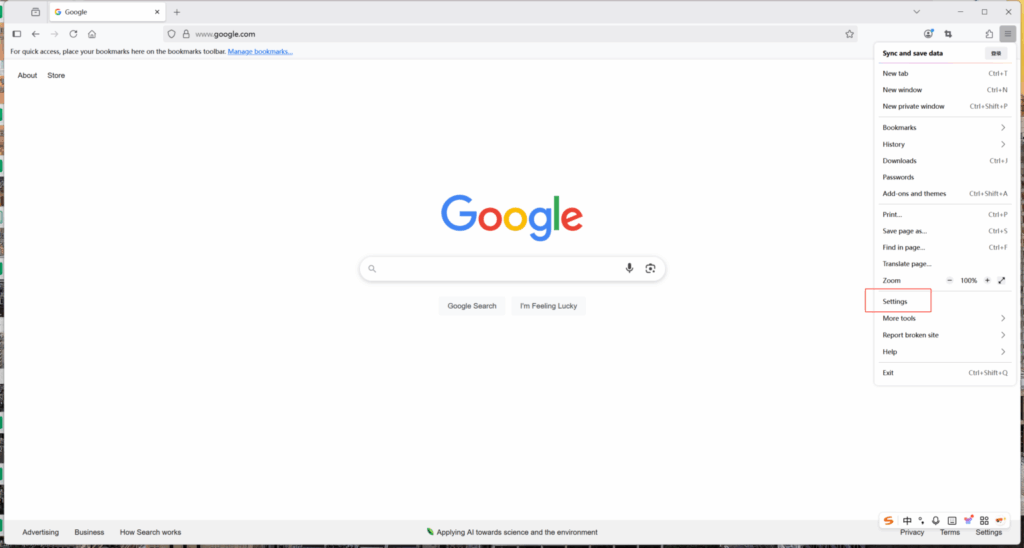
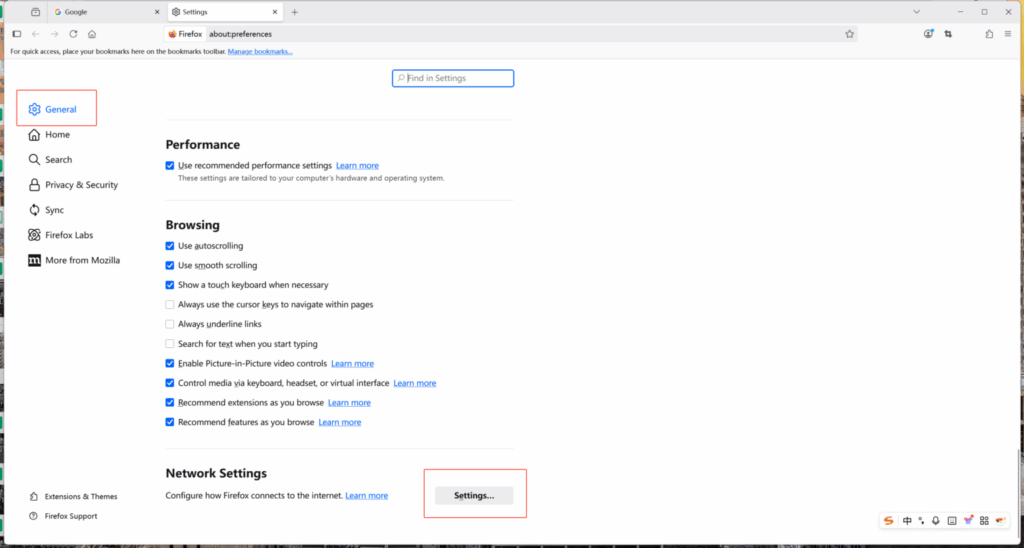
3.In the Settings panel, click “Settings” under the Network section.
4.Scroll to the bottom of the “General” tab, find the “Network Settings” section, and click the “Settings…” button.
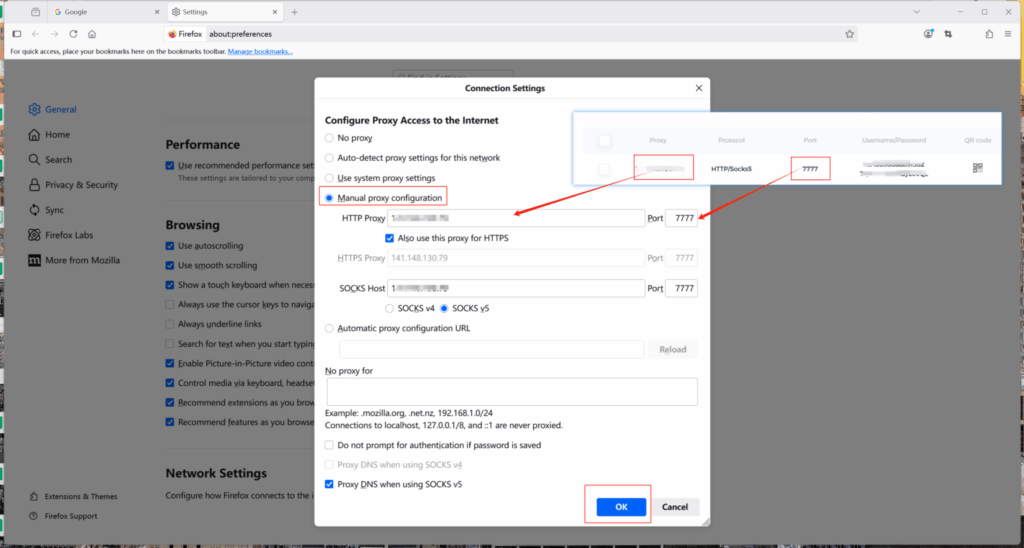
5.Select “Manual proxy configuration,” then enter the proxy and port values from your QuarkIP account into the corresponding fields. Click “OK” to save.
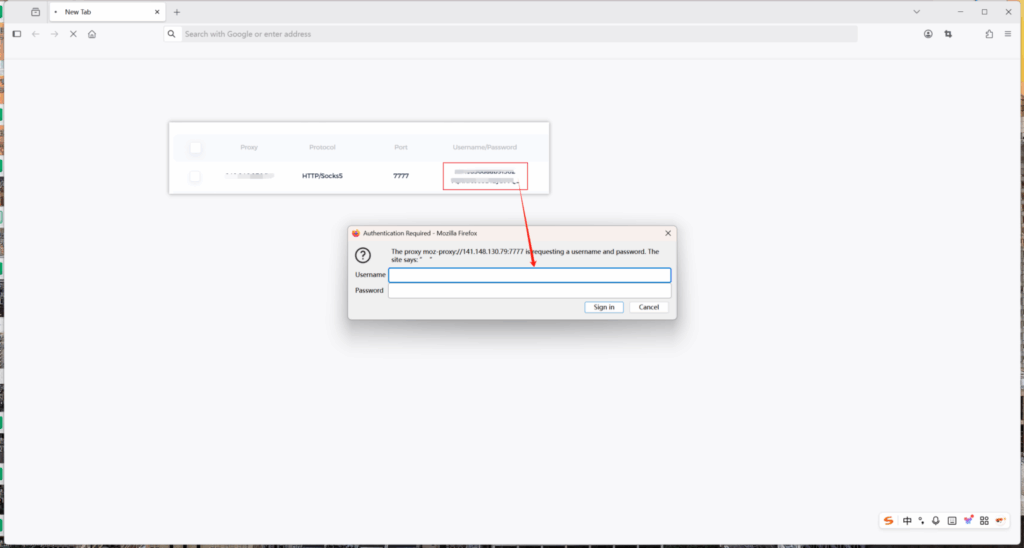
6.Before connecting to the internet, Firefox will prompt you to enter your proxy username and password.
Simply copy the credentials from your QuarkIP dashboard—the top line is your username, and the bottom line is your password—and paste them into the corresponding fields.
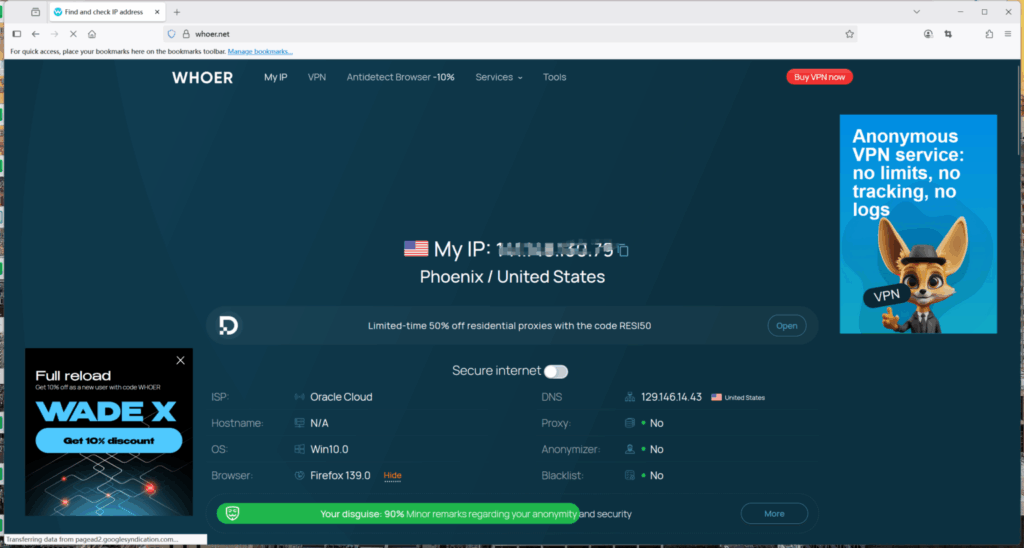
7.Open an IP lookup website to verify your IP location. Once confirmed, your proxy is ready to use in Firefox.