HubStudio is a cloud-based platform specializing in browser fingerprint management and secure multi-account logins. It is designed for users who need to manage multiple accounts or perform large-scale data collection, such as in cross-border e-commerce, social media operations, advertising campaigns, or web scraping.
1.Go to the HubStudio website to download the client. If you haven’t registered yet, please sign up first.
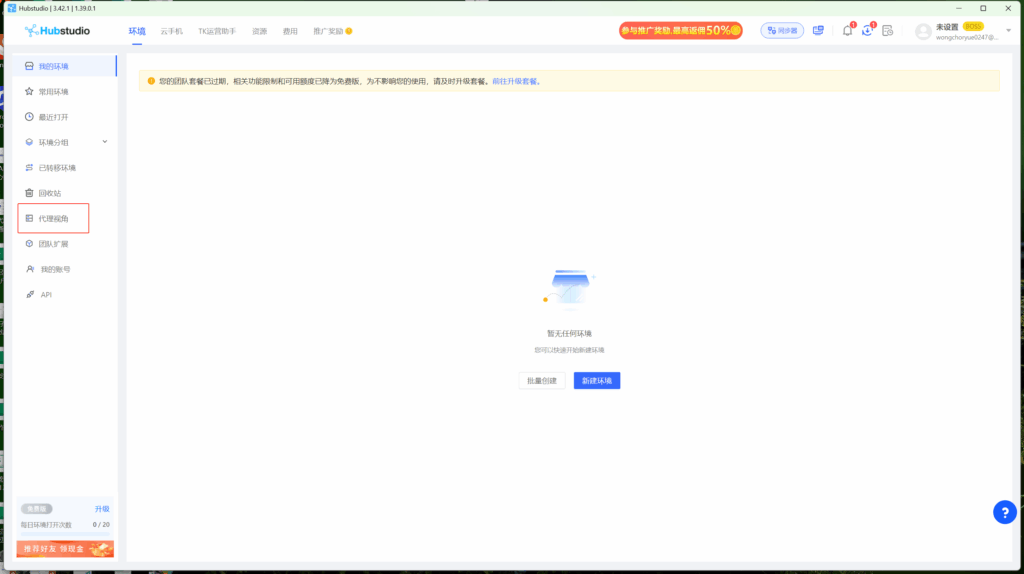
2.Log in to the homepage and navigate to the “Proxy View” page.
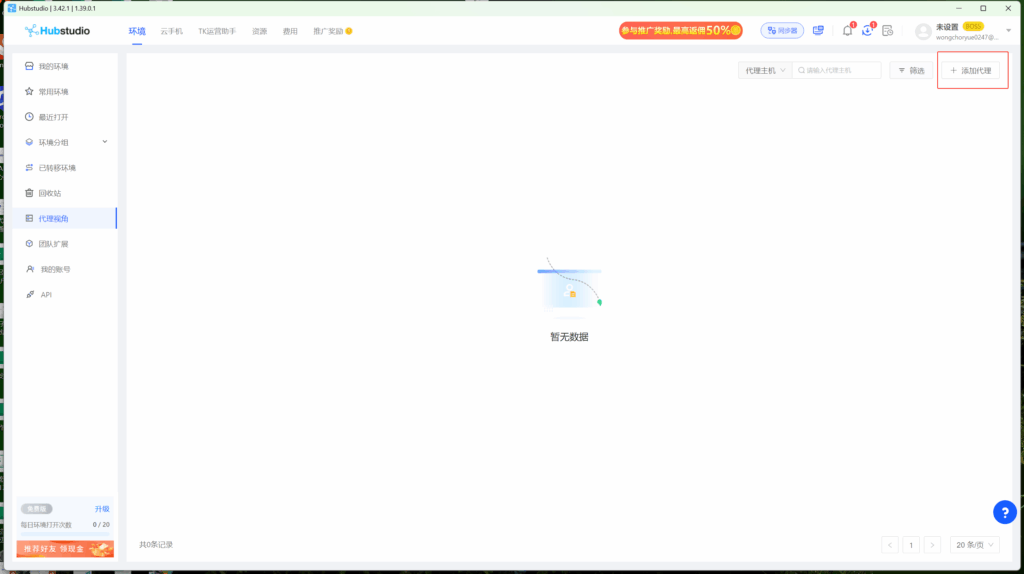
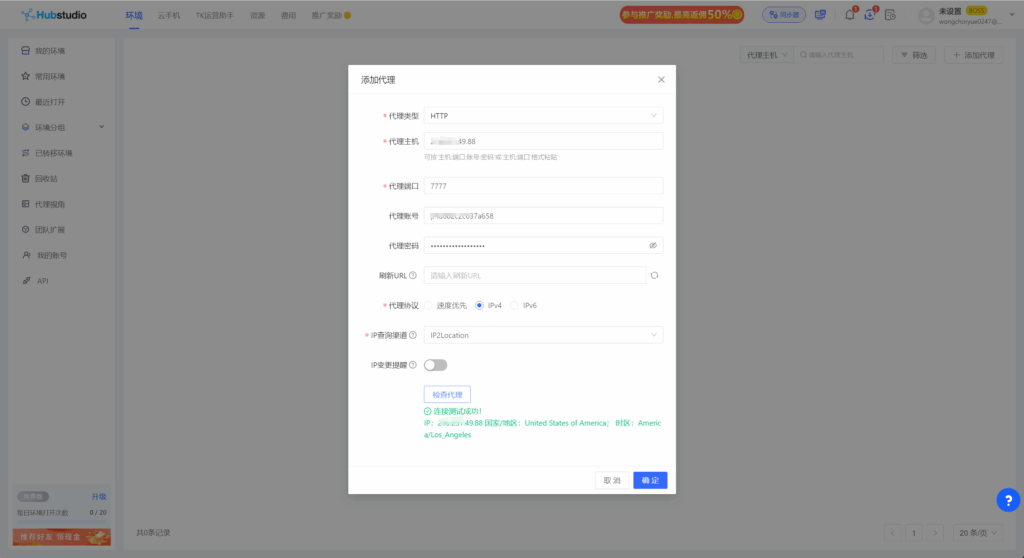
3.On the Proxy View page, click the “Add Proxy” button
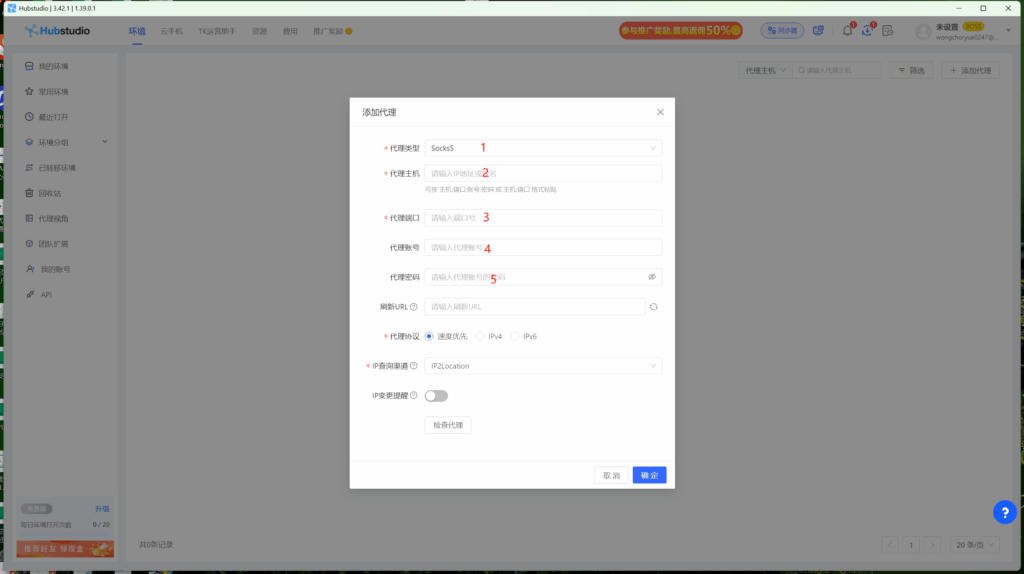
4.Next, we need to go back to QuarkIP to retrieve this information
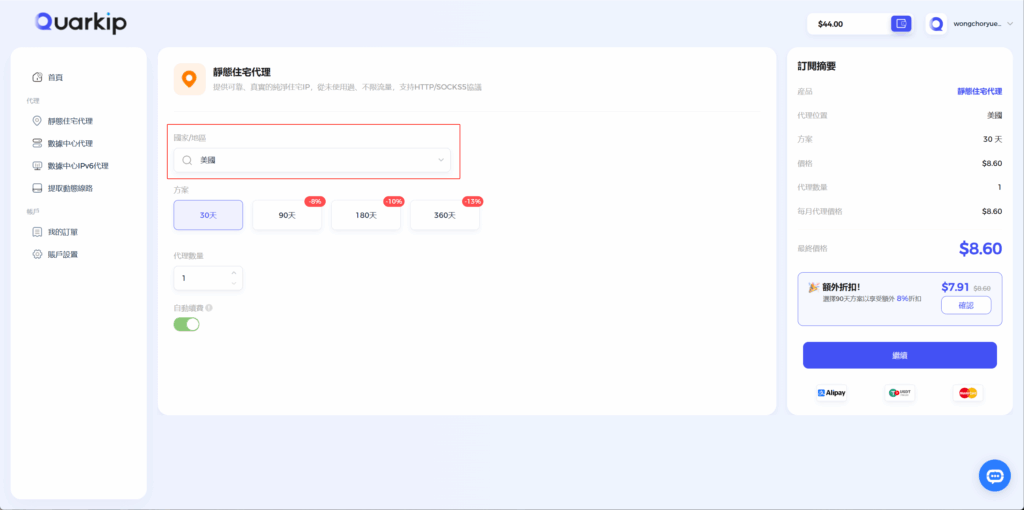
5.In QuarkIP, purchase a static proxy that fits your business needs. All static proxy management pages share the same layout; here, we’ll use an ISP static residential proxy as an example.
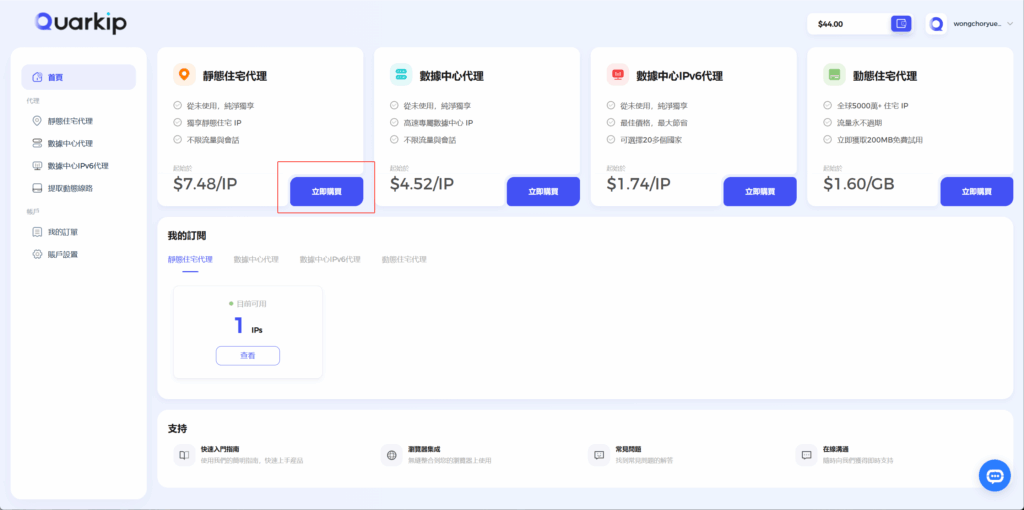
How can I purchase QuarkIP’s ISP static residential proxies?
Log in to QuarkIP and click the “Purchase” button
Select the desired country and subscription duration, then proceed to payment.
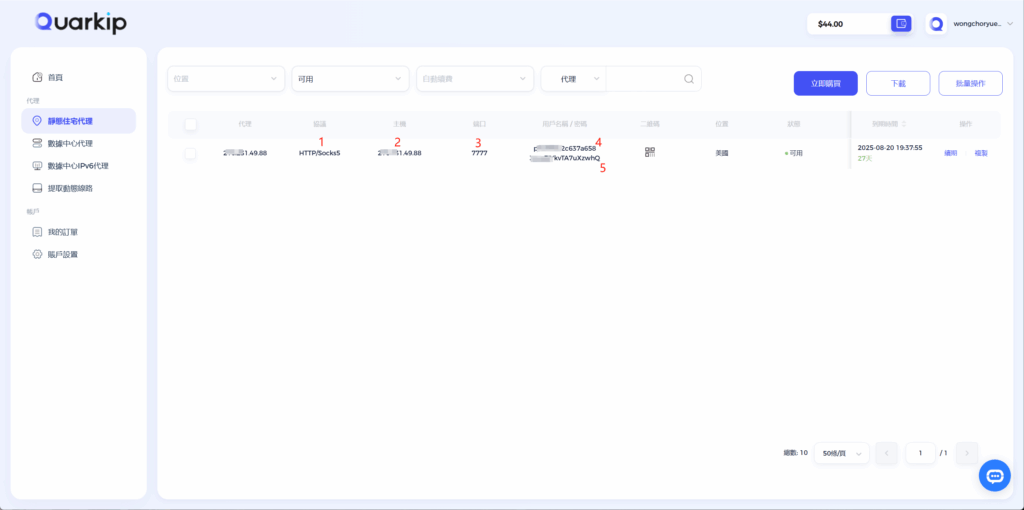
After payment is completed, the proxy will be assigned within 1–2 minutes. This is what it looks like once the assignment is finished.

Based on the screenshot from Step 4, we need to enter the proxy details into HubStudio
6.After filling in all the information, click the “Check Proxy” button.

7.After confirming the proxy location is correct, click “Confirm” to successfully add the QuarkIP ISP proxy to HubStudio.
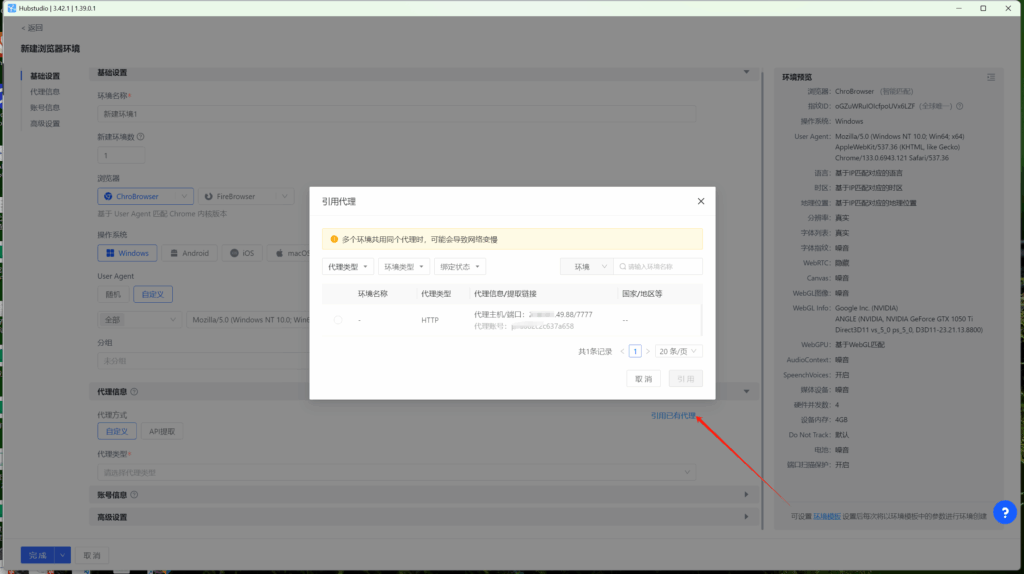
- Return to HubStudio’s environment settings. You can either create a new environment or modify an existing one.
In the proxy settings, select the QuarkIP ISP proxy you just added.